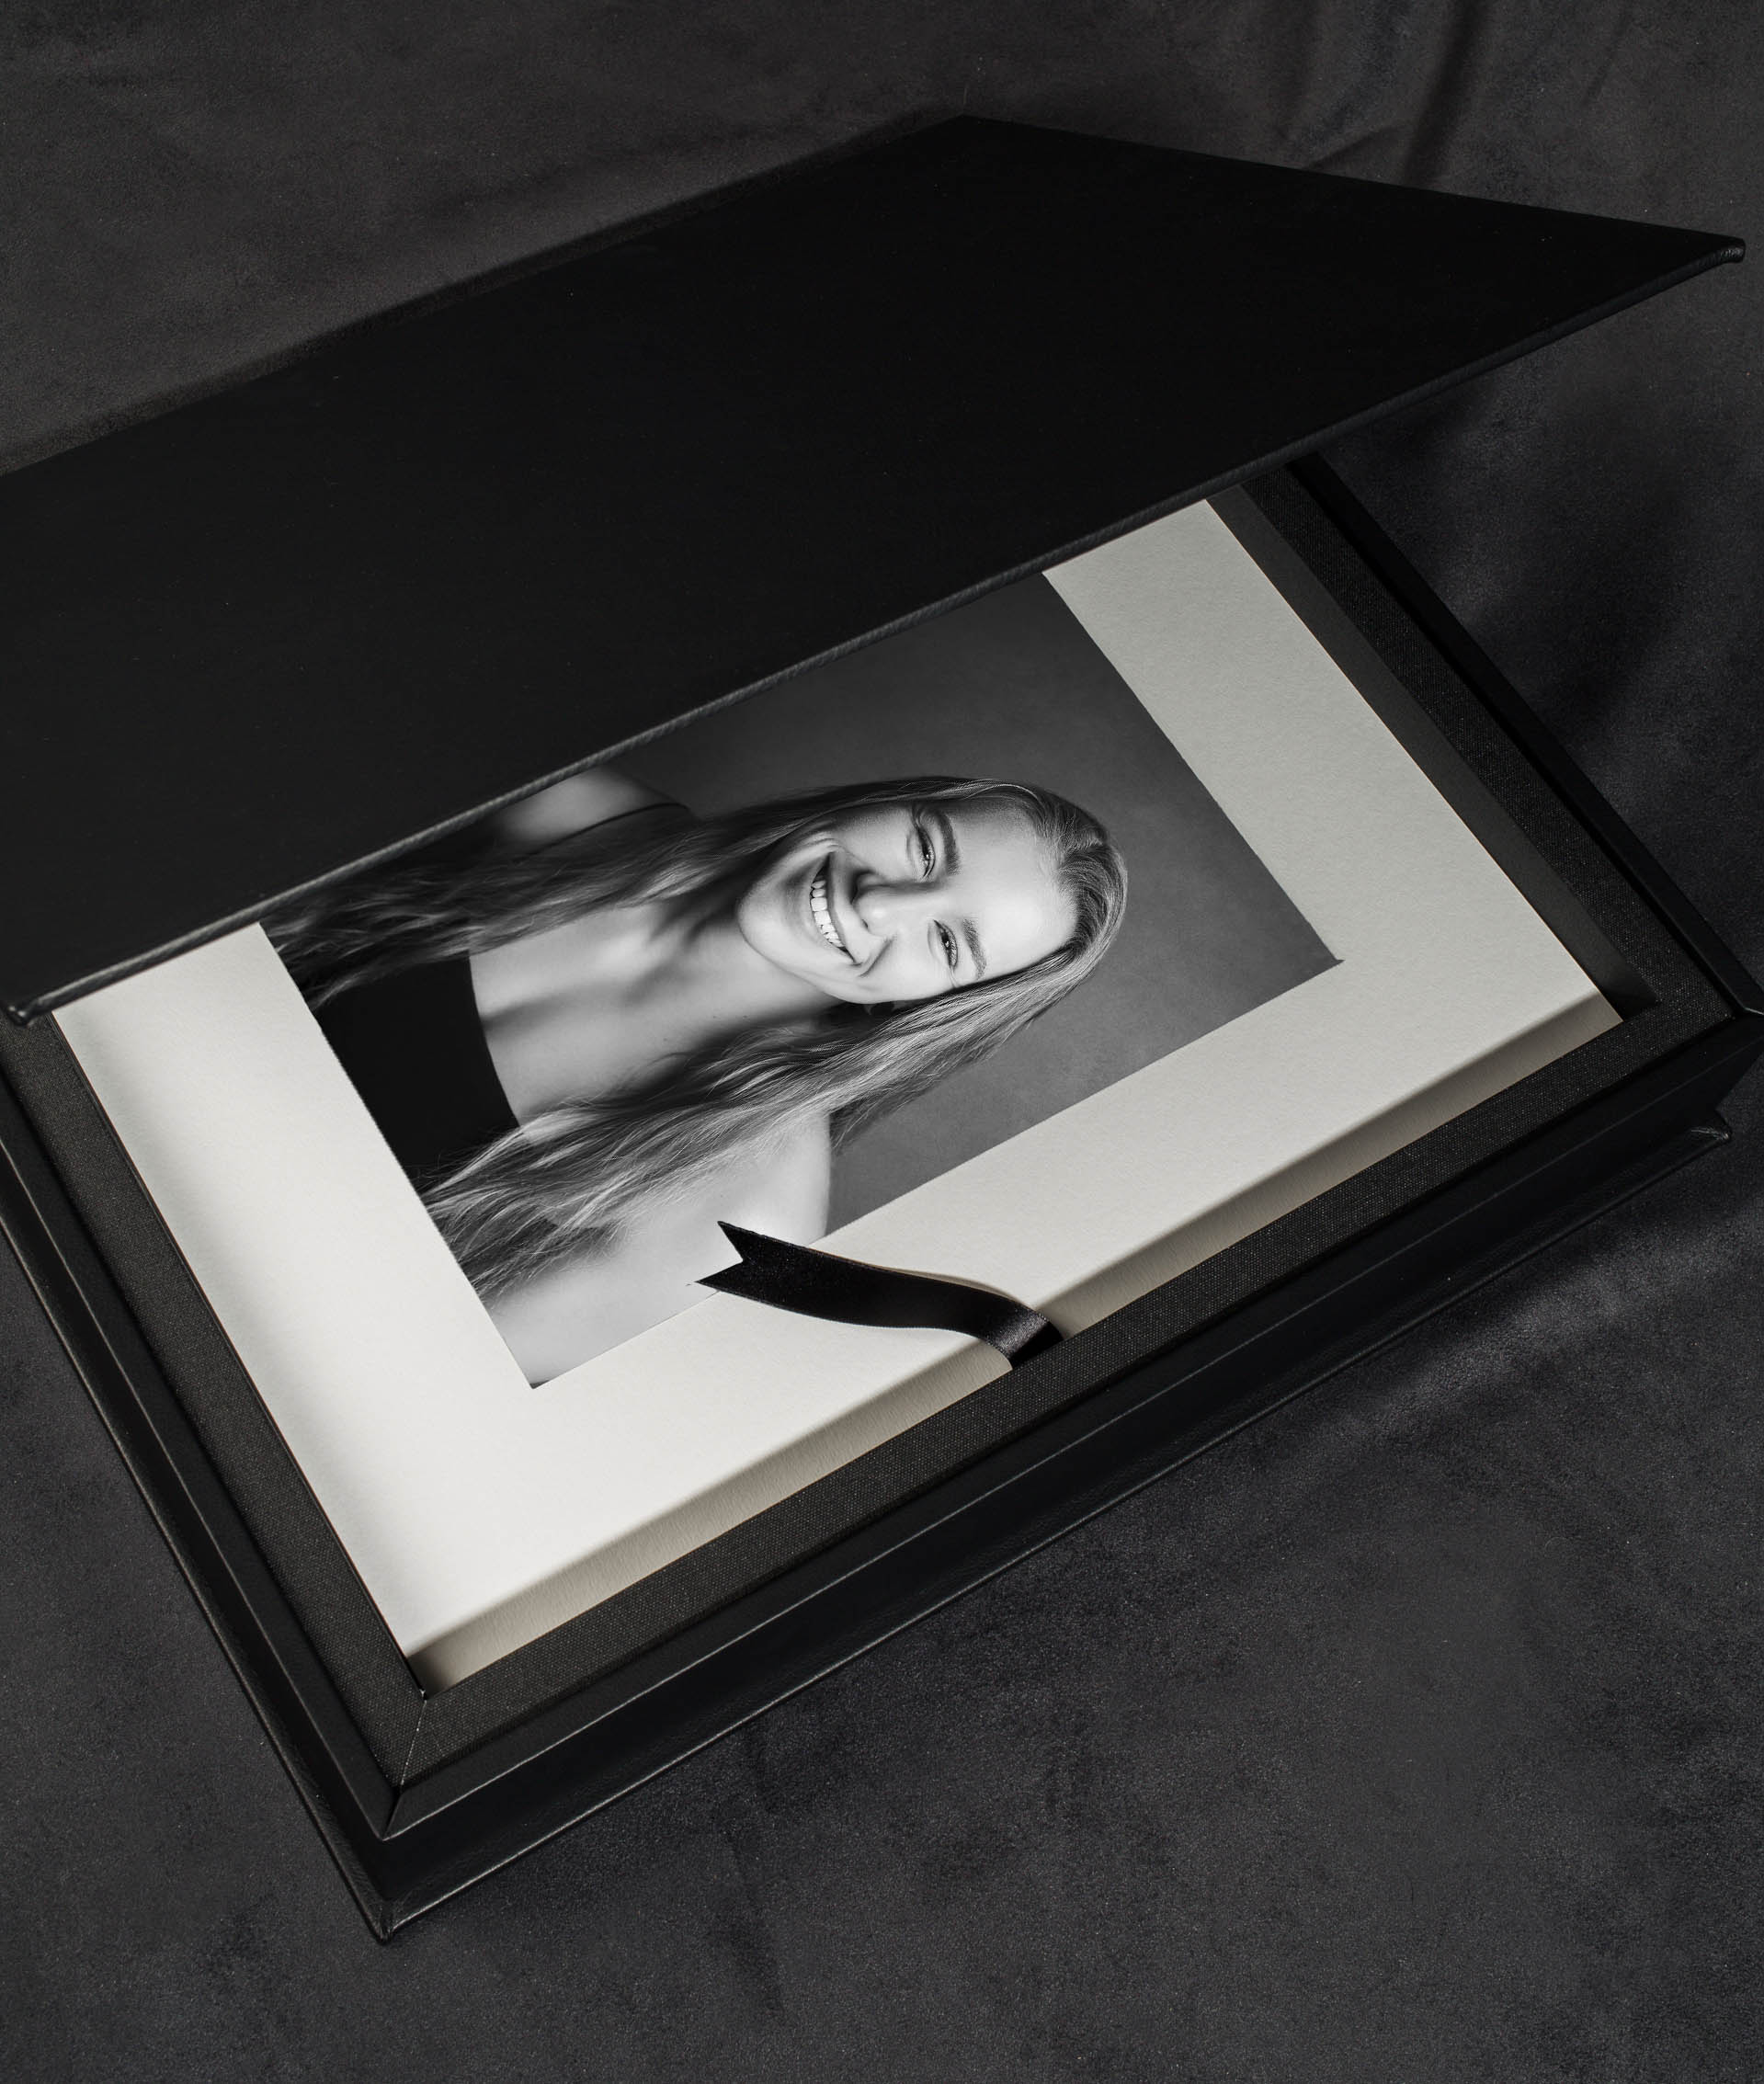
A Little Update – 7 Years Later…
Wow, reading back on this blog from 7 years ago is such a trip! It’s crazy how much has changed since I first wrote this. Back then, I was obsessed with chasing shade and diffused light—because, let’s be real, natural light felt like the only safe zone I had. Now, as a studio photographer, I’ve completely flipped my perspective. Artificial light, strobes, and even harsh direct sunlight are some of my favorite tools to play with. I’ve learned that light is light—whether it’s from the sun, a window, or a flash—it’s all about how you use it.
But here’s the fun part: everything I shared in this blog still holds value, especially if you’re working with natural light. It’s part of what shaped me into the photographer I am today. So, whether you’re a natural light lover or a flash fanatic, I hope you find something useful here. And if you’re curious about how I’ve evolved with light in my studio work, let me know! I’d be happy to blog about it. 😊
Alright, let’s dive into this little time capsule of a post! 🚀
Original post date: 1/18/2018Let me start with a short little story.
When I first started in the photography world, I was a lost puppy. Lighting was so difficult for me, and it really affected the quality of my images. Some days, I would take photos that looked like a ghost had drawn on them with a neon marker, and other times they were as black as night. My frustration was beginning to rise, but giving up wasn’t an option because, in my heart, I knew this was what I was meant to do. Photography was meant for me.
So, I continued to practice and took photos of basically everything that moved and had legs. One day, I snapped a photo toward a shaded wall and quickly realized that shade was my number one friend. I shot everything under the shade! It didn’t matter where I was—my number one priority was to find shade, put my subject in it, and begin my session.
I shot everything in the shade! It didn’t matter where I was—my number one priority was to find shade.
I got super EXCITED when there was a cloudy day because it meant I could deliver a great gallery. I even booked sessions when I knew it would rain because, hello! Clouds were my best friends—no more worrying about overexposing my subject. I did this for a long time, and for some reason, I still wasn’t happy with my work. Something about the images I was producing wasn’t satisfying my artistic brain. I knew I wanted to create beautiful, airy photographs, but I was beginning to doubt myself.
Why wasn’t my work light and airy when I knew that shade was the answer to all my problems?
Well, I Was Wrong, Guys!
It wasn’t until a few years down the road that I realized not all shade is created equal. I had been looking at it all wrong. Shade was my only answer because the truth was, I didn’t know what to do in natural lighting situations. Confidence was not in my vocabulary. I didn’t trust my ability to produce pretty images if there wasn’t a single cloud in the sky.
I love my clients! I am still proud of how much I’ve grown and so thankful for the opportunity they gave me to photograph their lovely families! But I only wish I had known back then what I know now about natural light—I could have served them even better.
I constantly had them walking around, looking for shade. My feet would hurt, and their feet would too. I took almost three hours on a shoot, and I could just tell how DONE they were before I was even finished.
I only wish I had known back then what I know now about natural light.
When it was time for me to edit their gallery, it was a nightmare. It took me **hours—**not even exaggerating—HOURS per photo. And with a full-time job, school, and a little one running around the house, it was so exhausting. Sneak peeks didn’t get back to clients until a whole week and a half later… YIKES.
My clients still loved me and referred me to their friends and family, but now, my sessions take half the time with double the amount of images. Sneak peeks get delivered right away, and my editing time has been cut down by 90%—all thanks to knowing how to work with natural light and where to place my clients.
Now, I’m sharing with you the top 3 things I look for during a session and mistakes to avoid so you don’t take as much time as I did—and so you can finally be proud of the images you produce straight out of the camera!
1. EVEN LIGHT
This was one of my biggest struggles because I didn’t know what even lighting was or how beneficial it could be.
What the heck is it? Well, when your subject and the area around them are evenly lit from head to toe—without blotches of light or a super bright background—that’s even lighting.
Sometimes, a super dark background can make your subjects appear way too bright because your camera cannot expose for both the dark background and the bright subject at the same time—it has to pick one.
You know when the sun filters through a tree, and you stand under it, getting spots of light on your shirt that make you look like you entered a glitter party? That’s what you need to avoid!
All your subjects in the photo, including the background, should be under the same light. Otherwise, it will look like a cell phone photo.
2. DIFFUSED LIGHT BACKGROUNDS
This is a big one.
If you want that dreamy glow in the back of your images, finding diffused light should be your goal.
A diffused background happens when the sun is behind your subject but covered by a tree or a cloud. If the day is really cloudy, instead of placing my clients with the sun behind them, I actually face them toward the diffused sun—but I’ll tell you about that later.
In one of my shots, the sun was actually above the frame (not in it) and behind the leaves of the tree. This created a creamy, dreamy effect without washing out any contrast.
If I had included the sun in the frame, it would have looked completely washed out, and I would have had to add a ton of contrast back in post-production.
3. OTHER LIGHT SOURCES
This is why I say that even if your subject is in shade, it could still ruin your images.
Why?
Because shade can create dark circles under your subject’s eyes, making their skin look dull and lifeless. And who wants dark circles under their eyes?
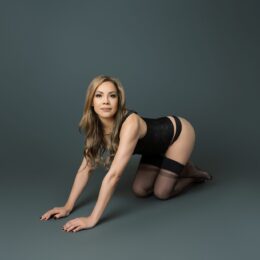
When I took a photo of my cousin (left), we were under a grove of trees—and in front of her? More trees. She had no second light source illuminating her face.
But the image on the right? Same location. The only difference? I moved her a few steps away from the grove, where there was an opening behind me with a clear view of the sky. That sky light acted as a natural reflector, bouncing soft light onto her face.
Even in situations like this, the ground color matters! If the ground is blue or green, it will reflect that color back onto your subject’s skin, creating unnatural shadows.
For best results, stick to neutral tones for the ground, like:
✔️ Concrete
✔️ Beige rocks
✔️ Sidewalks
✔️ Anything in shades of white or https://en.wikipedia.org/wiki/List_of_colors_by_shadelight brown
Now, It’s Your Turn!
Go out and shoot! Practice with a friend, a pet, or even a plant—just implement these strategies, and you will see amazing results.
I know that relying on shade alone was the number one shooting mistake I made as a beginner, and I don’t want you to make the same mistake.
If you have any questions, drop them below, and I’ll blog about them! 😊